Wide Shot – November 2015


Please join me in posting a wide shot of your garden the first of every month, or anytime you get to it in the month. It is my hope, that this exercise will assist us all both in the appreciation of our gardens as they grow and change, and in growing and learning ourselves to recognize changes we may want to make.
Wide Shot – August 2015


 Hi friends! It has been sporadic posts from me, and I am sorry for that. I have been super busy career building after my youngest started school and my priorities in my life have shifted…or changed somewhat…for now. But I am still here, missing you! :)
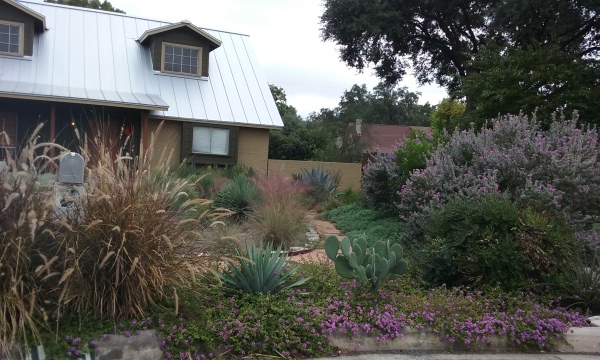
As life changes and I grow and evolve, so does my garden. I guess what I really want to share today, is despite my garden being neglected, here it is still thriving…Texas natives and well-adapted plants shining away. I am willing to bet that if I had grass….it simply would not have made it…
-xericstyle xo


No water here!
…a living example of hardy cactus for San Antonio!

Wide Shot – April 2015

Please join me in posting a wide shot of your garden the first of every month, or anytime you get to it in the month. It is my hope, that this exercise will assist us all both in the appreciation of our gardens as they grow and change, and in growing and learning ourselves to recognize changes we may want to make.
Mexican Flame Vine and Chickens…

One of the things they DON’T eat, making it the perfect chicken-yard vine. Much trial and error…